Assigning/Revoking User Roles (LDAP/AD/SAML)
If the Platform Administrator configured the deployment to use LDAP or Active Directory user authentication (see The User Authentication Screen), then there are two ways to assign/revoke user roles.
LDAP/AD user accounts in the deployment fall into two groups:
- Auto-added from a tenant authentication group: See Automatically Added.
- Manually added by the Platform Administrator: See Manually Added.
Automatically Added
The tenant/project roles for users who have been automatically added via a tenant authentication group cannot be changed in the User Assignment screen. These users are based on LDAP/AD group membership, and the deployment grants the roles specified by the tenant authorization groups every time one of these users logs in. The Platform Administrator can temporarily delete an automatically-added user, but the account will be re-created next time the user logs in. See Configuring User Authentication Settings.
To permanently remove such a user's role in a tenant or project, either remove that user's groups from the tenant's authorization groups, or change the user's group membership at the LDAP/AD server. If that user has a current session, then they will be able to continue accessing the deployment until that session expires; however, a Platform Administrator can end the session at any time, as described in Managing User Sessions.
Manually Added
The Platform Administrator may choose to manually add an LDAP/AD-based user account for various reasons, such as:
- If the user needs to be granted Platform Administrator privileges.
- If the deployment is not using group-based authentication for tenant/project and container access.
- If the tenant and/or project roles require manual management, as exceptions to group-based authentication settings.
If you are manually adding a user who already has an account that was automatically created by logging in and being granted group-level privileges, then you must first delete that existing user account and then re-add that user account manually, including granting the desired privileges.
To manually add an external user:
- Open the User Management screen (see The User Management Screen).
- Click the Add User button to open the Add New User screen.
- Check the External User check box.
-
Provide the login name of the user in the Login field.

-
Click the Submit button to save your changes.
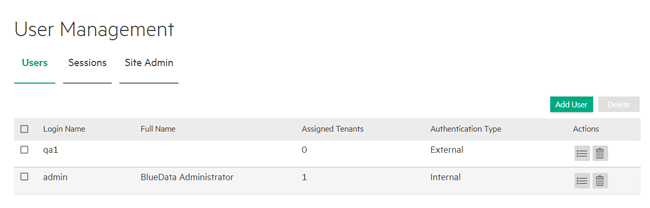
The User Management screen refreshes to include the name of the newly-added user.
-
Click the Details button for the newly-added user to open the User Details screen for that user.

- Click the Assign button, and then assign the desired tenant/project roles to the user as described in Assigning/Revoking User Roles (Local).