Tutorial: TensorBoard
Prerequisites:
- KubeDirector notebook with ML Ops toolkits and Persistent Volume attached
- An Internet connection is required to download the MNIST dataset for this tutorial. This tutorial is not available for Air Gapped environments.
- If you have not done so already: Before beginning this tutorial, download the Kubeflow tutorials zip file, which contains sample files for all of the included Kubeflow tutorials.
IMPORTANT
If you experience freezing while
downloading the MNIST dataset, restart the notebook kernel.To complete the tutorial:
- Log in to the KubeDirector notebook as an LDAP user.
- Upload
tensorboard.ipynbfile using the respective button in the Jupyter notebook. - Open
tensorboard.ipynband run it using in the menu panel. - Open the Kubeflow Dashboard, log in with the LDAP user credentials you used in
step 1, and open the Tensorboards page.
Ensure that the tenant namespace is selected in the Namespace drop-down list.
- Create a new TensorBoard:
- Select + NEW TENSORBOARD. The New
Tensorboard dialog box opens.
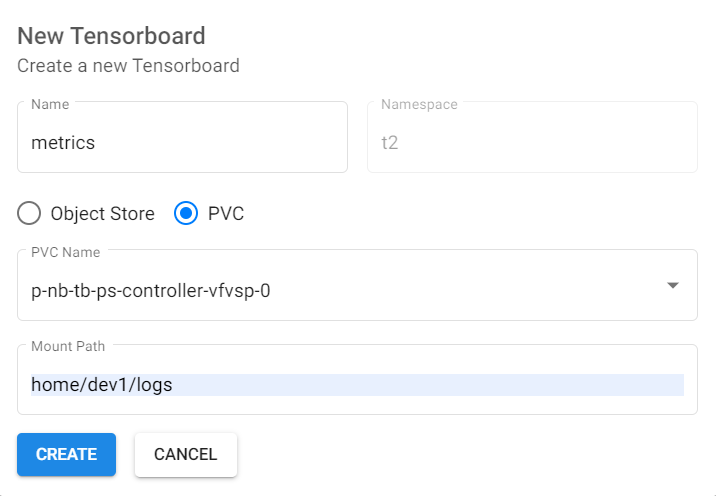
- In the Name field, enter a name for the TensorBoard. For example, metrics.
- Select the PVC check box.
- In the PVC Name drop-down list, select the KubeDirector notebook's persistent volume.
- In the Mount Path field, enter the path
home/<user>/logsdev1, the user mount path ishome/dev1/logs. - Select CREATE.
- Select + NEW TENSORBOARD. The New
Tensorboard dialog box opens.
- Wait until the TensorBoard becomes available.

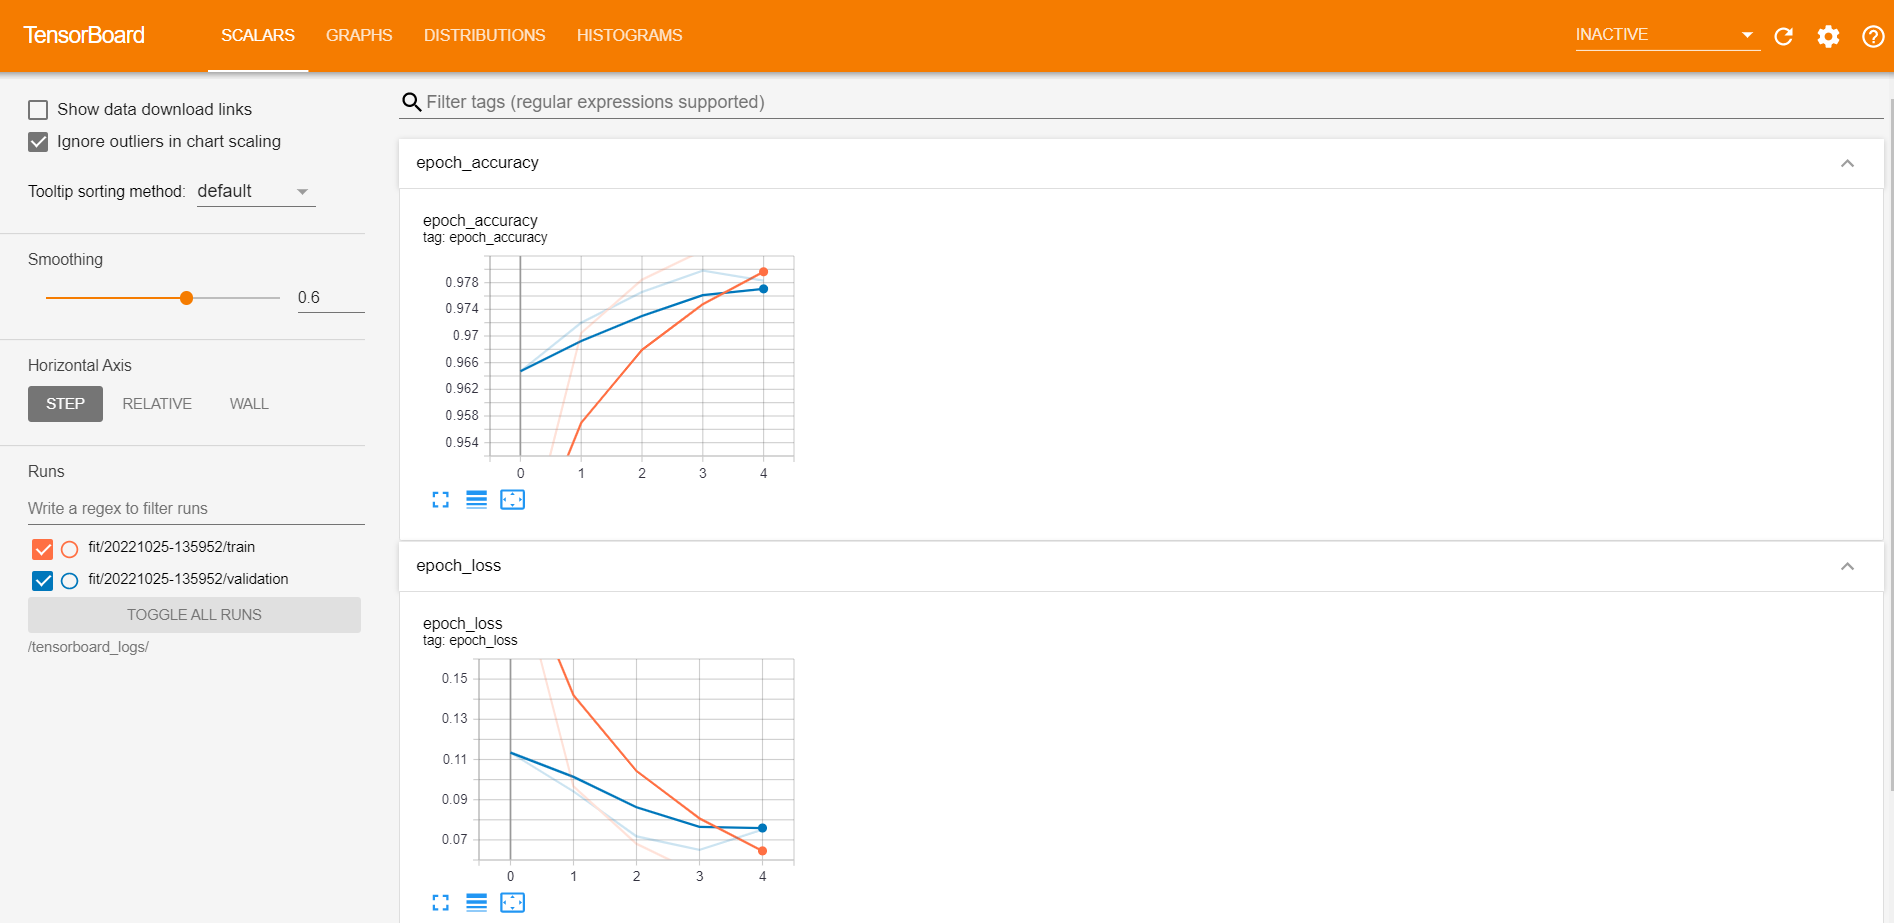
- Click CONNECT to open the created TensorBoard.
- (Optional) You can delete the created TensorBoard with the Delete button from the Tensorboards page of the Kubeflow Dashboard.